To regulate your automatic watch's timing at home, you'll need a timegrapher or timing app, case back opener, and precision screwdrivers. First, track your watch's daily accuracy over a week to establish baseline performance. Once you've confirmed timing issues, carefully open the case back and locate the regulator index near the balance wheel. Make tiny adjustments to the regulator using proper tools – moving toward (+) speeds up the watch, while (-) slows it down. Test the results in multiple positions and document changes. While basic regulation is achievable at home, understanding the complete process will help you maintain better accuracy.
Table of Contents
Understanding Watch Timing Basics
While automatic watches are marvels of mechanical engineering, they require periodic timing regulation to maintain accuracy. Your watch's timing refers to how fast or slow it runs compared to a reference time source, typically measured in seconds per day. A watch running "fast" gains time, while one running "slow" loses time. Most mechanical watches have an acceptable daily variance of +/- 5 to 10 seconds.
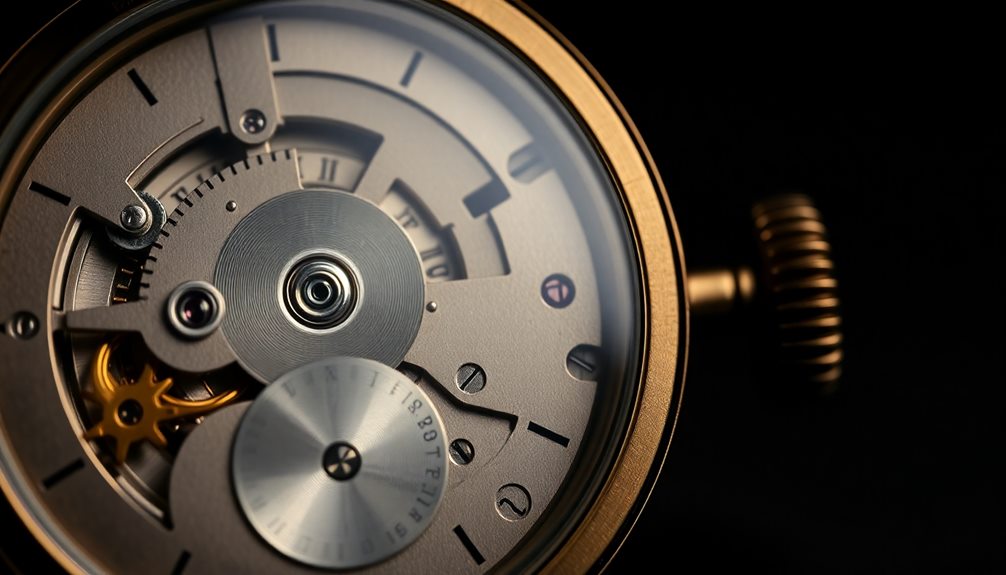
The timing of your automatic watch depends on several key components. The balance wheel and hairspring work together as the timekeeping heart, while the regulator controls their oscillation rate. You'll find the regulator index on the balance cock, usually marked with "+" and "-" indicators. Moving this index affects how freely the hairspring can oscillate, thereby adjusting the watch's timing.
Before attempting regulation, you'll need to track your watch's timing deviation over several days. Use a reliable time reference like time.gov and record the daily variance. Understanding whether your watch consistently runs fast or slow will help you determine the direction and magnitude of adjustment needed during regulation.
Required Tools and Equipment
With your watch's timing deviation documented, you'll need specific tools to perform accurate regulation. A proper watch regulation toolkit consists of both essential and optional equipment that'll help you achieve precise timing adjustments.
| Essential Tools | Optional Tools |
|---|---|
| Timegrapher/Timing Machine | Loupe Headset |
| Case Back Opener | Anti-static Mat |
| Watchmaker's Screwdrivers | Finger Cots |
The timegrapher is your most significant investment, as it measures your watch's timing accuracy in multiple positions. You'll need a quality case back opener that matches your watch's case style – common types include friction balls, three-prong openers, and jaxa-style tools. Select precision screwdrivers with properly sized tips to avoid damaging the regulator pins.
While optional, a loupe headset provides vital magnification when adjusting the regulator index. An anti-static mat protects sensitive watch components from electrical discharge, and finger cots prevent oils from your skin from contaminating the movement. Before starting, verify all tools are clean, properly maintained, and appropriate for your specific watch model to prevent accidental damage during regulation.
Safety Precautions Before Starting
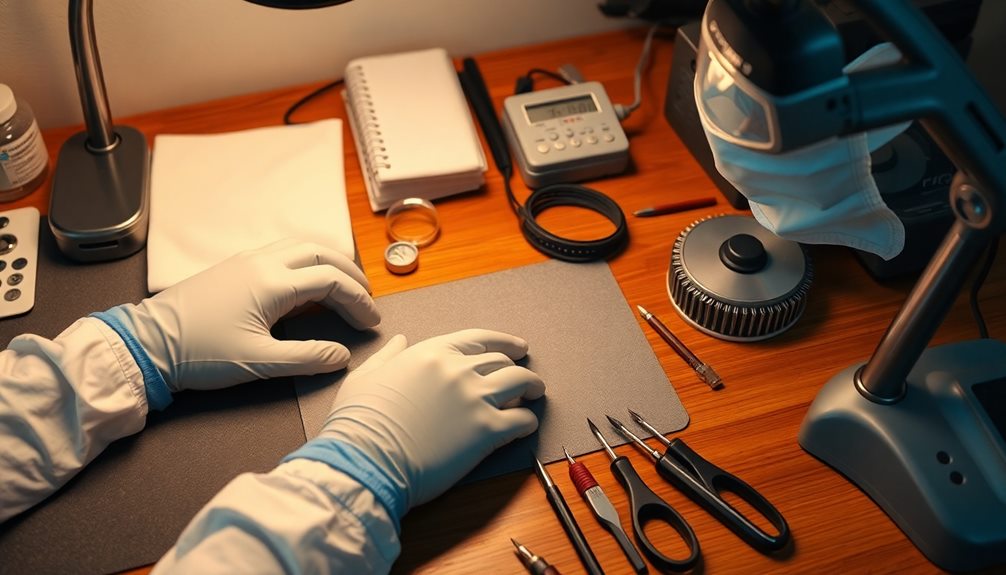
Safety stands paramount when regulating any automatic watch movement. Before starting any timing adjustments, verify you're working in a clean, well-lit environment free from dust and debris.
Place your watch on a soft microfiber cloth to prevent scratches and protect it from accidental drops.
Make sure your hands are clean and dry, and consider wearing powder-free latex gloves to avoid leaving fingerprints or transferring oils to the watch components.
If you wear magnetic jewelry or accessories, remove them as they can affect the watch's timing accuracy.
Don't attempt regulation if you're tired or under the influence of any substances that might impair your judgment or fine motor skills.
You'll need steady hands and clear focus for this delicate task. Keep your workspace free from liquids that could damage the movement if spilled.
If your watch is under warranty, remember that opening the case back will likely void it.
Double-check that you're comfortable with this risk before proceeding. If you encounter any resistance while opening the watch or making adjustments, stop immediately to avoid causing damage to the movement.
Measuring Current Watch Accuracy
While professional timegraphers offer the most accurate measurement of your watch's timing, you can still get useful data from smartphone timing apps as a basic starting point.
You'll want to track your watch's daily rate changes over at least a week to establish a clear pattern of how fast or slow it's running.
Recording these measurements at the same time each day helps guarantee consistent readings and reveals whether regulation adjustments are needed.
Compare Timegrapher Vs Apps
Watchmakers and enthusiasts face an essential choice between professional timegraphers and smartphone timing apps when measuring watch accuracy.
Professional timegraphers like the Timegrapher 1000 offer superior precision, measuring beat rate, amplitude, and beat error with accuracy down to +/- 0.1 seconds per day. They'll also detect positional timing variations and provide detailed analysis of the watch's mechanical performance.
Smartphone apps like Watch Tuner and Watch Accuracy Meter provide a more affordable alternative, typically costing under $20 compared to $300+ for entry-level timegraphers.
These apps use your phone's microphone to detect the watch's tick rate and calculate timing deviation. While they're convenient and portable, they can't match a timegrapher's precision or measure vital metrics like amplitude.
You'll need to evaluate your goals and budget when choosing between these options. If you're seriously into watch regulation or repair, invest in a timegrapher for its thorough data and reliability.
For casual timing checks or basic regulation attempts, a smartphone app can suffice. Just remember that app readings are approximate and shouldn't be relied upon for professional-level adjustments.
Track Daily Rate Changes
Once you've selected your timing measurement tool, establishing a baseline for your watch's accuracy requires consistent daily tracking.
Start by setting your watch to an accurate time reference like time.gov or an atomic clock app. Record the exact time you've set it.
Check and document your watch's time deviation every 24 hours at the same time of day. Note the number of seconds gained or lost in a tracking log or spreadsheet. Include details about the watch's position when not worn (dial up, crown up, etc.) and wearing patterns to identify any positional variance.
Track these measurements for at least a week to establish a reliable daily rate. You'll want to calculate the average seconds per day (SPD) by dividing the total deviation by the number of days tracked. For example, if your watch gains 35 seconds over 7 days, your average daily rate is +5 SPD.
Pay attention to environmental factors that might affect timing, such as temperature changes or activity levels.
If you notice significant variations, extend your tracking period to better understand your watch's behavior under different conditions before attempting regulation.
Accessing the Regulator Assembly
To access your watch's regulator assembly, you'll first need to locate the case back opening points and determine if you have a snap-off or screw-down back design.
Using proper watchmaking tools, including a case back opener and precision screwdrivers, carefully remove the back cover while avoiding damage to the case or movement.
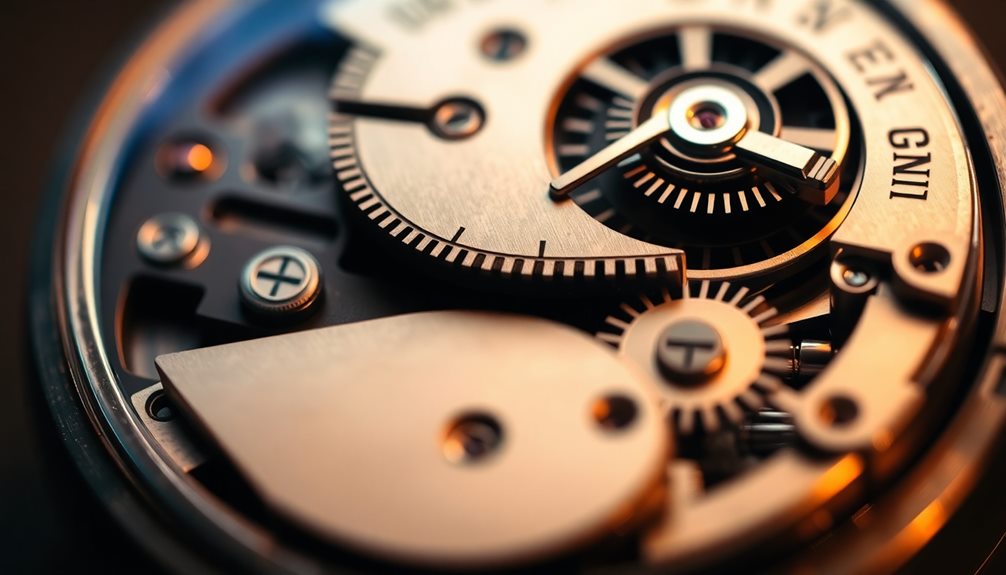
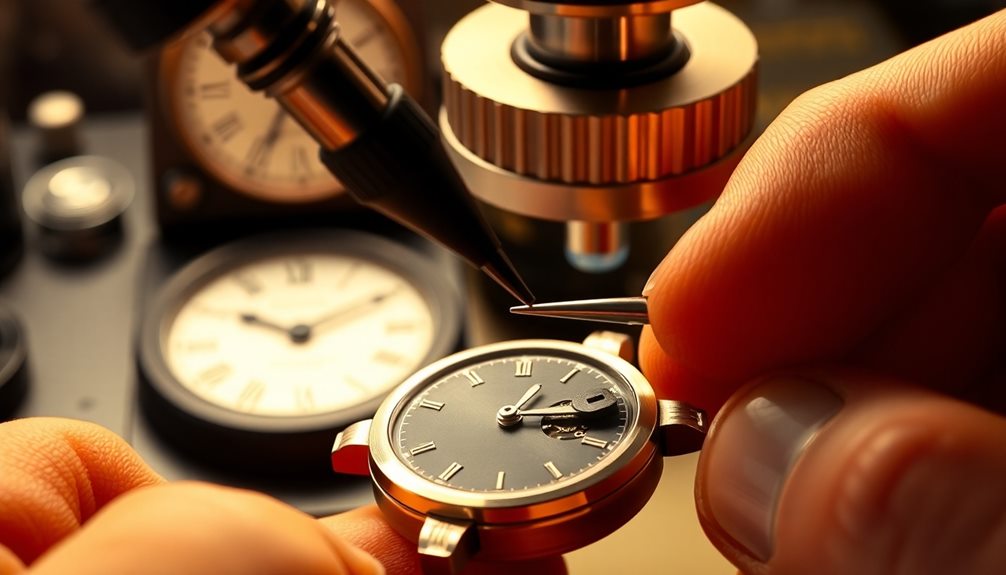
Once opened, you'll find the regulator assembly near the balance wheel, typically marked by a small lever with plus and minus symbols or arrows indicating the adjustment direction.
Locating Regulator Access Points
The regulator assembly in automatic watches is typically accessed through either the caseback or from beneath the dial.
You'll find most modern automatic watches use the caseback access method, which requires removing the back cover to expose the movement. Look for small notches or grooves around the caseback's edge that indicate where your case opening tool should be placed.
For watches with dial-side regulation, you'll need to remove the crown, stem, and dial to access the regulator. This method is more common in vintage timepieces and requires additional skill to avoid damaging the hands and dial during disassembly.
Once you've opened the watch, locate the balance wheel – it's the rapidly oscillating wheel that controls timekeeping. The regulator assembly sits adjacent to this wheel and usually consists of a curved index with two pins that control the effective length of the hairspring.
You can identify the regulator by its distinctive lever shape and graduated markings. It's often marked with "+" and "-" symbols or "F" (fast) and "S" (slow) indicators.
Don't confuse it with other adjustment mechanisms like the fine adjustment screw or beat error corrector.
Opening Watch Case Safely
After identifying your watch's regulator access point, proper case opening technique prevents damage to both the case and movement.
You'll need a case opening tool that matches your watch's case back design – whether it's a snap-back, screw-back, or secured with screws. Before proceeding, lay out a soft microfiber cloth on your work surface and guarantee you're in a well-lit, clean area.
- For snap-back cases, position your case knife at the notch between 4 and 8 o'clock, applying gentle but firm pressure until you hear a pop.
- With screw-back cases, use a rubber ball or case wrench, turning counterclockwise while keeping the watch secured.
- If dealing with screwed cases, select the proper screwdriver size to avoid stripping the heads.
- Always work with clean, dry hands and keep track of any gaskets or small parts.
Once opened, handle the case back with care, noting its orientation for reassembly.
Don't force anything if you encounter resistance – this could indicate you're using the wrong tool or technique.
Keep the case back facing up to prevent dust from entering the movement.
Using Proper Watch Tools
Proper watchmaking tools are vital for safely accessing and adjusting your watch's regulator assembly.
You'll need a case knife or case opener tool, a movement holder, and precision screwdrivers specifically designed for watchmaking. A loupe with 3x to 10x magnification is critical for viewing the regulator's small components.
For automatic watches, you'll also require a regulator adjustment tool, which features a thin, forked end that fits around the regulator pins.
Don't use household tools like eyeglass screwdrivers or regular tweezers, as they're too large and can damage the delicate mechanisms.
Keep your tools clean and organized on a soft microfiber mat.
You'll want anti-static tweezers for handling small parts and a dust blower to remove any debris that could interfere with the movement.
If your watch has a screw-down crown, you'll need a crown removal tool to access certain components.
Store your tools in a designated watchmaking kit to prevent damage and maintain their precision.
Before starting any adjustments, verify all tools are within easy reach and properly cleaned to avoid introducing contamination to your watch's movement.
Reading the Timing Machine
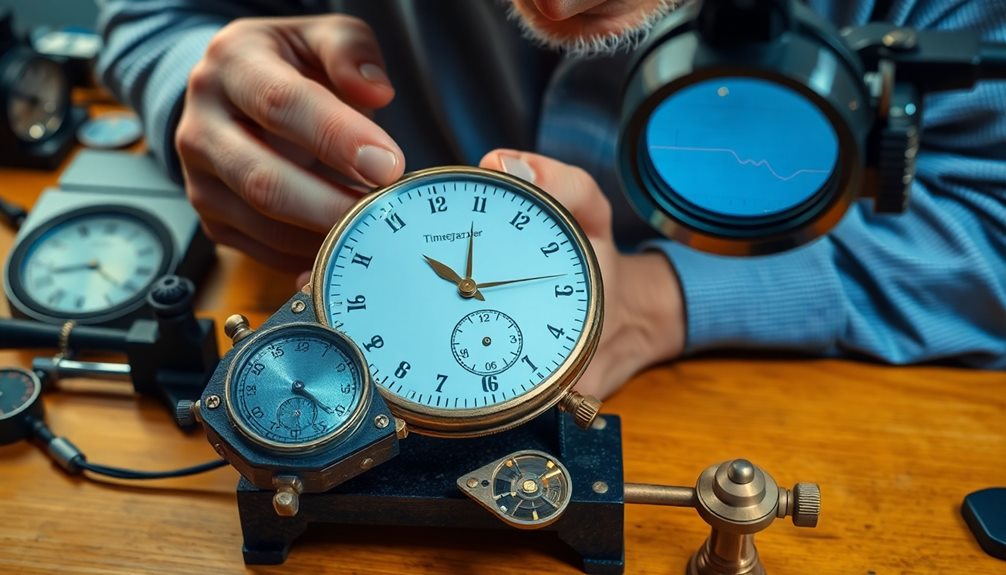
Before making any adjustments, you'll need to understand how to interpret timing machine readings. The timing machine displays several key measurements that indicate your watch's performance: beat rate, amplitude, and beat error. These readings appear as both numerical values and as visual patterns on the machine's screen, typically showing diagonal lines that represent the watch's timing.
- Beat rate shows how many vibrations your watch makes per hour, displayed in seconds per day (+/-). A reading of +10 means your watch runs 10 seconds fast daily.
- Amplitude measures the balance wheel's swing arc, ideally between 250-310 degrees. Lower readings indicate potential problems like friction or weak mainspring.
- Beat error reveals the evenness of the ticks between left and right swings, with 0.0-0.5ms being ideal.
- The trace pattern should show clean, consistent diagonal lines without erratic jumps or irregularities.
Watch the readings for at least two minutes to guarantee stability. If you notice significant fluctuations or unusual patterns, this could indicate deeper issues requiring professional service.
Understanding these measurements is essential before attempting any regulation adjustments.
Making Precise Regulator Adjustments
Once you've confirmed stable timing readings, locating and adjusting the regulator is your next step. You'll find the regulator on the balance wheel assembly, typically appearing as a small lever with + and – markings. Before making any adjustments, verify you're working in a clean, well-lit environment with proper tools.
| Timing Error | Required Action | Expected Result |
|---|---|---|
| Watch runs fast | Move regulator toward – | Decreases beats/hour |
| Watch runs slow | Move regulator toward + | Increases beats/hour |
| Erratic timing | Check for debris/magnetization | Stabilizes timing |
Make extremely small adjustments to the regulator using a fine-tipped tool. A slight movement of just 0.5mm can change the timing by several minutes per day. After each adjustment, let the watch run for at least 4 hours before taking new measurements. If you're dealing with significant timing errors exceeding 30 seconds per day, consider breaking the adjustment into multiple smaller corrections over several days. Don't attempt to achieve perfect timing in one session – gradual adjustments produce more stable results and reduce the risk of damaging the regulator pins.
Testing and Recording Results
After making regulator adjustments, you'll need to systematically test and record your watch's timing performance. Create a detailed testing log that tracks daily timing variations and positions. Test your watch in multiple positions for at least 24-48 hours to get accurate readings of its performance.
- Check and record timing in dial-up position each morning at the same time.
- Test the watch in crown-up, crown-down, and dial-down positions.
- Monitor timing variations across different wearing patterns and activity levels.
- Document temperature conditions during testing periods.
Compare your recorded results against the baseline measurements you took before making adjustments. If you're seeing consistent timing across positions within +/- 10 seconds per day, you've achieved good regulation.
However, if you notice significant variations between positions or inconsistent daily rates, you'll need to make additional fine adjustments.
Keep your testing log updated with each adjustment you make. This documentation helps you track progress and understand how different regulator positions affect your watch's timing.
Consider using a spreadsheet to organize your data and identify patterns in the watch's performance over time.
Common Timing Regulation Problems
During the regulation process, you're likely to encounter several common timing issues that can frustrate even experienced watch enthusiasts. The most frequent problem is overcorrection, where you'll move the regulator too far in either direction, causing the watch to run markedly fast or slow. You'll need to make smaller, more precise adjustments to avoid this issue.
Position errors can also affect your timing results. If you've tested your watch in only one position, you might miss positional variance issues. Your watch may run perfectly in the dial-up position but lose minutes when worn vertically. You'll need to test in multiple positions to identify these discrepancies.
Another common challenge is inconsistent amplitude, which occurs when your mainspring isn't providing steady power to the balance wheel. You might notice timing variations between a fully wound and partially wound state. This issue often indicates that your watch needs servicing rather than regulation.
Temperature changes can also impact timing accuracy. If you're testing in varying environments, you'll get inconsistent results. Maintain a stable temperature during the regulation process to guarantee reliable measurements.
Frequently Asked Questions
Can Extreme Temperatures Permanently Damage a Watch's Timing Regulation System?
Yes, extreme temperatures can permanently damage your watch's timing system. High heat can warp delicate parts, while extreme cold makes lubricants thicken. You'll notice timing issues if you expose your watch to harsh temperatures.
How Often Should Timing Regulation Be Performed on an Automatic Watch?
You'll need to check your automatic watch's timing every 6-12 months, but if you notice it's running consistently fast or slow before then, don't wait – get it regulated sooner to maintain accuracy.
Does Magnetism Affect Timing Regulation Accuracy After Adjustments Are Made?
Yes, magnetism can throw off your watch's timing even after regulation. You'll notice your watch running fast or slow if it's magnetized. It's best to demagnetize your watch before making any timing adjustments.
Will Frequent Timing Adjustments Wear Out the Regulator Pins Over Time?
You won't wear out regulator pins with frequent adjustments unless you're using excessive force. However, it's best to make gentle, incremental changes and avoid over-adjusting, which can strain the mechanism unnecessarily.
Can Water Resistance Be Compromised When Accessing the Regulator for Timing Adjustments?
Yes, you'll risk compromising water resistance when opening your watch case to access the regulator. Once you've removed the caseback, you'll need to have the gaskets checked and replaced before exposing it to water.
In Summary
You've now learned the basics of regulating your automatic watch's timing at home. While it's a delicate process that requires patience and precision, you'll save money on professional services and gain valuable knowledge about your timepiece. Remember to document your adjustments, work in a clean environment, and proceed slowly. If you're not confident after trying these steps, don't hesitate to consult a professional watchmaker.
As a professional trainer and a gadget lover, I’ve spent a lot of money and time buying wearable activity trackers, smartwatches, and gadgets, and checking them out. My site is focused on helping you with your activity tracking and smart technology journey. I try to provide the most helpful updated content on this subject. Hopefully, you will love my blogs and be a regular around here.